Introduction
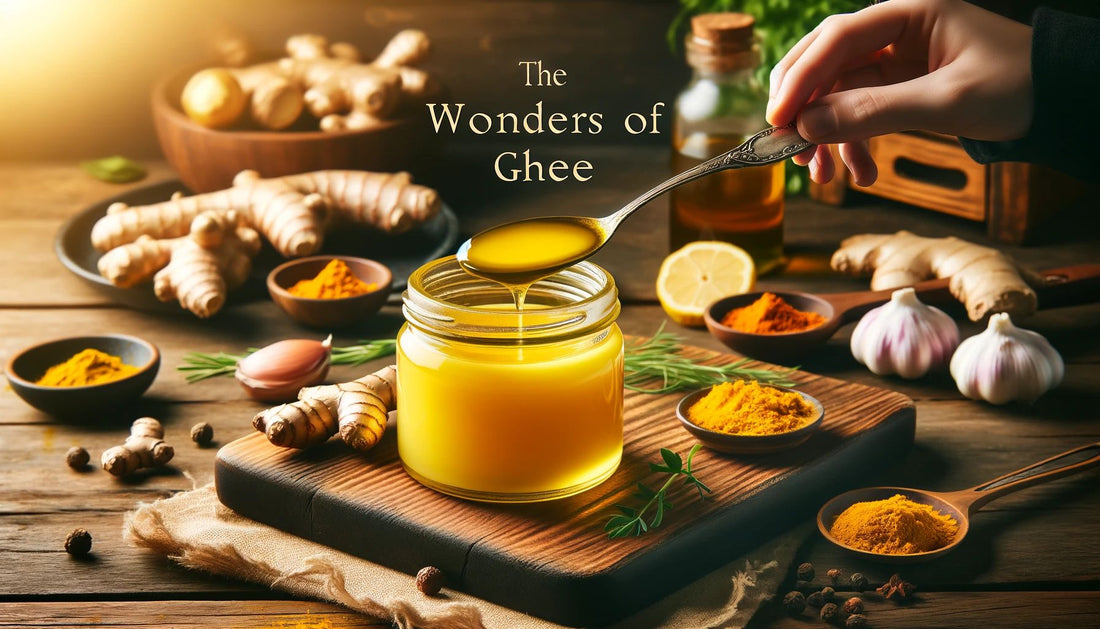
Ghee, a type of clarified butter, has been a staple in Indian cuisine and Ayurvedic medicine for centuries. It's known not only for its rich, nutty flavor but also for its numerous health benefits. Ghee is packed with essential fatty acids, vitamins, and antioxidants, making it a healthy alternative to many cooking oils and fats. In recent years, ghee has gained popularity among health enthusiasts around the world for its ability to improve digestion, boost immunity, and even promote weight loss. If you're looking to add a nutritious and flavorful ingredient to your cooking, making ghee at home is a rewarding and straightforward process.
Ingredients and Equipment
Ingredients:
- 1 pound (450 grams) of unsalted, high-quality butter (preferably organic or grass-fed)
Equipment:
- Heavy-bottomed saucepan
- Wooden spoon
- Fine mesh strainer or cheesecloth
- Heatproof container for storage
Step-by-Step Guide to Making Ghee
Step 1: Choosing the Right Butter
The quality of the butter you use will significantly affect the flavor and nutritional value of your ghee. Choose unsalted, high-quality butter, preferably organic or grass-fed, as it contains higher levels of healthy fats and nutrients.
Step 2: Melting the Butter
Place the butter in a heavy-bottomed saucepan and set it over medium heat. Allow the butter to melt completely, stirring occasionally to ensure even melting. Once melted, reduce the heat to low.
Step 3: Simmering and Clarifying
As the butter simmers, it will begin to separate into three layers: foam on top, clear golden liquid in the middle, and milk solids at the bottom. Continue to simmer the butter gently, without stirring, for about 20-30 minutes. The milk solids will gradually sink to the bottom and start to brown, releasing a nutty aroma. It's essential to keep the heat low to prevent burning the milk solids.
Step 4: Straining the Ghee
When the ghee has turned a clear golden color and the milk solids at the bottom are a deep, golden brown, remove the saucepan from the heat. Allow it to cool slightly before straining. Using a fine mesh strainer or cheesecloth, strain the ghee into a heatproof container, leaving the browned milk solids behind. Discard the milk solids or save them for another use, such as adding to baked goods for extra flavor.
Step 5: Storing the Ghee
Let the strained ghee cool completely before sealing the container. Ghee can be stored at room temperature for up to three months, or in the refrigerator for up to a year. Ensure the container is airtight to maintain the ghee’s freshness and prevent contamination.
Tips and Tricks for Perfect Ghee
- Achieving the Perfect Golden Color: Monitor the ghee closely during the simmering process. The ideal color is a clear, golden yellow. If it turns dark brown, it means the milk solids have burned, affecting the flavor.
- Avoiding Common Mistakes: Keep the heat low throughout the process to avoid burning. Stirring the mixture can cause the milk solids to mix with the clarified butter, so it’s best to leave it undisturbed.
- Enhancing Flavor with Spices: For a flavorful twist, add spices like turmeric, cardamom, or bay leaves to the butter during the simmering stage. Strain out the spices along with the milk solids for a subtly infused ghee.
Making Herbal Ghee Infusions
Creating herbal ghee infusions is a fantastic way to enhance the nutritional and therapeutic properties of ghee. Here's how to make your own herbal ghee:
Ingredients:
- 1 cup of homemade ghee
- 1-2 tablespoons of dried herbs (e.g., turmeric, ashwagandha, holy basil, or your favorite culinary herbs)
Instructions:
- Prepare the Ghee: Begin with your homemade ghee, gently warming it in a saucepan over low heat.
- Add the Herbs: Once the ghee is melted and warm, add your chosen dried herbs. Stir gently to mix the herbs evenly into the ghee.
- Simmer: Let the mixture simmer on low heat for about 20-30 minutes. This allows the herbs to infuse their beneficial properties into the ghee. Be careful not to let the ghee overheat or burn.
- Strain and Store: After simmering, strain the ghee through a fine mesh strainer or cheesecloth into a clean, heatproof container. Discard the herb residues. Store the infused ghee as you would regular ghee, either at room temperature or in the refrigerator.
Creating Ghee and Medicinal Mushroom Extract Mixture
Combining ghee with medicinal mushroom extracts can amplify the health benefits of both ingredients. Here’s how to make a powerful blend using a 7-mushroom extract:
Ingredients:
- 1 cup of homemade ghee
- 1 tablespoon of Organic 7 Mushroom Extract (Chaga, Reishi, Cordyceps, Maitake, Shiitake, Lion's Mane, Turkey Tail)
Instructions:
- Prepare the Ghee: Warm your homemade ghee in a saucepan over low heat until it is fully melted.
- Add Mushroom Extract: Stir in the mushroom extract powder, ensuring it dissolves completely into the ghee. Use a whisk if necessary to break up any clumps and achieve a smooth consistency.
- Simmer: Allow the mixture to simmer on low heat for about 10-15 minutes, stirring occasionally. This helps to evenly distribute the mushroom extract throughout the ghee.
- Cool and Store: Once well combined, let the mixture cool slightly before transferring it to a clean, airtight container. Store the ghee mixture at room temperature or in the refrigerator.
Benefits:
- Enhanced Immunity: Mushrooms like Reishi and Turkey Tail are known for their immune-boosting properties.
- Improved Cognitive Function: Lion's Mane mushroom supports brain health and cognitive function.
- Energy and Vitality: Cordyceps mushroom is known for enhancing energy and athletic performance.
Creating Shilajit Ghee
Shilajit, a potent natural resin known for its rejuvenating properties, can be combined with ghee to create a powerful health-boosting mixture. Here’s how to make Shilajit ghee:
Ingredients:
- 1 cup of homemade ghee
- 1 tablespoon of honey
- 1 teaspoon of Himalayan Gold Shilajit resin
Instructions:
- Prepare the Ghee: Warm your homemade ghee in a saucepan over low heat until it is fully melted.
- Remove the ghee from the pan and add honey and shilajit. Combine on low heat.
- Add the ghee: Add the melted ghee to the honey and shilajit mixture. Stir continuously to ensure they combine well..
- Simmer: Allow the mixture to simmer on low heat for about 5 minutes, stirring occasionally. This ensures that the Shilajit is evenly distributed throughout the ghee.
- Cool and Store: Once well combined, let the mixture cool slightly before transferring it to a clean, airtight container. Store the Shilajit ghee at room temperature or in the refrigerator.
Benefits:
- Energy and Stamina: Shilajit is known to boost energy levels and improve physical performance.
- Anti-Aging Properties: Shilajit contains fulvic acid, which has powerful antioxidant properties that can help slow the aging process.
- Enhanced Nutrient Absorption: Combining Shilajit with ghee can improve the absorption of nutrients in the body.
Uses and Storage of Ghee
Culinary Uses: Ghee is incredibly versatile and can be used in place of butter or oil in most recipes. It has a high smoke point, making it ideal for frying, sautéing, and roasting. Use it to enhance the flavor of soups, stews, and even baked goods.
Storage Tips and Shelf Life: Store ghee in a cool, dark place in an airtight container. It can remain stable at room temperature for up to three months, or you can refrigerate it for longer shelf life, up to a year. Unlike butter, ghee does not spoil easily due to the removal of milk solids and water content.
Health Benefits in Daily Diet: Incorporating ghee into your daily diet can offer several health benefits. It's rich in fat-soluble vitamins A, D, E, and K, which are crucial for various bodily functions. Ghee is also known for its anti-inflammatory properties and can aid in digestion and gut health.
Conclusion
Making ghee at home is a simple yet rewarding process that yields a versatile and health-boosting ingredient. With its rich flavor and numerous health benefits, ghee is a fantastic addition to any kitchen. Give it a try and experience the goodness of homemade ghee.